
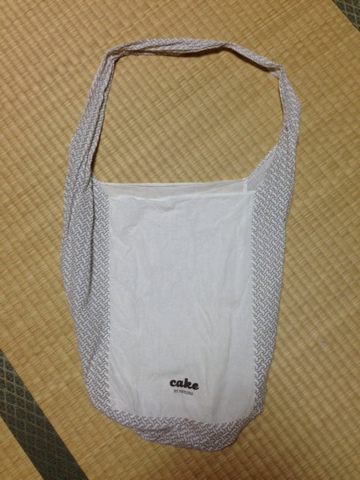
Some of you may be familiar with Petunia Pickle Bottom's "Cake" line of diaper bags. If you aren't familiar, they are beautiful, yet fairly outrageously expensive bags to keep your leaking bottles, dirty diapers and pukey baby clothes in while you are out in public. As awful as the inside of the bag might smell, the outside will have you looking extremely stylish.
One of my good friends here had a baby a few months back and she was lucky enough to buy one of these so desired Cake bags. Along with it came a little cloth bag.
My friend used it for grocery shopping, but due to the color and the light weight of the fabric it quickly needed a replacement. She asked me if I could make one and I figured I could at least give it a go. We went fabric shopping together (and then out for a delicious Indian meal); I LOVE the fabric she picked, so was excited to get cracking on the bag.

I started by measuring the bag and making a pattern of sorts. Then I cut out my fabric. These are the pieces I started out with, but I ended up switching one of the front/back panels because there was a beautiful turquoise flower that I wanted featured.

I started by sewing the straps to the bottom of the bag. We decided not to line the bag. Since I don't have a surger, however, I wanted to make sure the inside looked pretty and was strong enough for groceries, so we decided to bias tape the inside seams.

Once the bottom and sides were sewn together, I just added in the front and back panels and I had a bag.

The last bit was the bias tape covering the inside. Bias tape always makes me nervous, and the way I put the bag together made going around the corners of the bag a bit messy.

I asked my friend if she would like a pocket to keep keys and a phone in, and she was down. She decided that placement and style of the pocket was not a big deal to her, so I just went with something I thought would be cute. I opted for a pocket on the inside as keys and phones are heavy and I didn't want them falling out. I knew I didn't want to stitch the pocket directly to the inside of the bag, however, because I really didn't want to disrupt the beautiful pattern on the outside. Instead I made a pocket that I attached to the top of the bag with the bias tape. To make it I used the spare panel, cut it in half and then folded it in half the long way.

I put bias tape over the folded edge for an extra pop of color.

Then I put it right sides together and sewed up the sides. Finally I flipped it out and top stitched the sides. I love how the bias tape ended up with rounded corners.

Finally I basted to the top edge of the bag, and covered the top and straps with the bias tape.

The bag was done and I was quite pleased with my work. If you look super closely, however, you will notice the corners are a bit messy from the bias tape issue. I think if I were to make a similar bag (for me, perhaps) I would probably just line it to make it clean all the way around. That being said, I don't think many people will look closely enough at the bottom corners to notice.

That being said, I do love the way the bias tape looks. The pink is such an adorable contrast to the inside of the fabric.

Here is a photo of the new and old, side by side. Cute, eh (did I mention my friend is Canadian?)?

No comments:
Post a Comment